Being above a D cup is frustrating when its about bralettes. And it doubles with front closure!
Being above a D cup can be really frustrating when its about bralettes.
Choosing all the beautiful laces shrinks to neverending hunting for enough support.
And all this trouble doubles when you try to make a cute front closure bralette.
Sounds familiar?

The truth is:
Making the front closure bralette that works even for larger breasts is hard.
Your bra needs some structural integrity and foundation to work the way you want.
If you remove a huge amount of fabric from the middle of your bra,
and keep just the bottom band,
it will affect the fit and you will lose the support.
That's why I want to share with you, that you can
add a front closure to a bralette pattern without losing support
All you need is a good-fitting bralette pattern that gives you enough support.
DESIGN OPTIONS
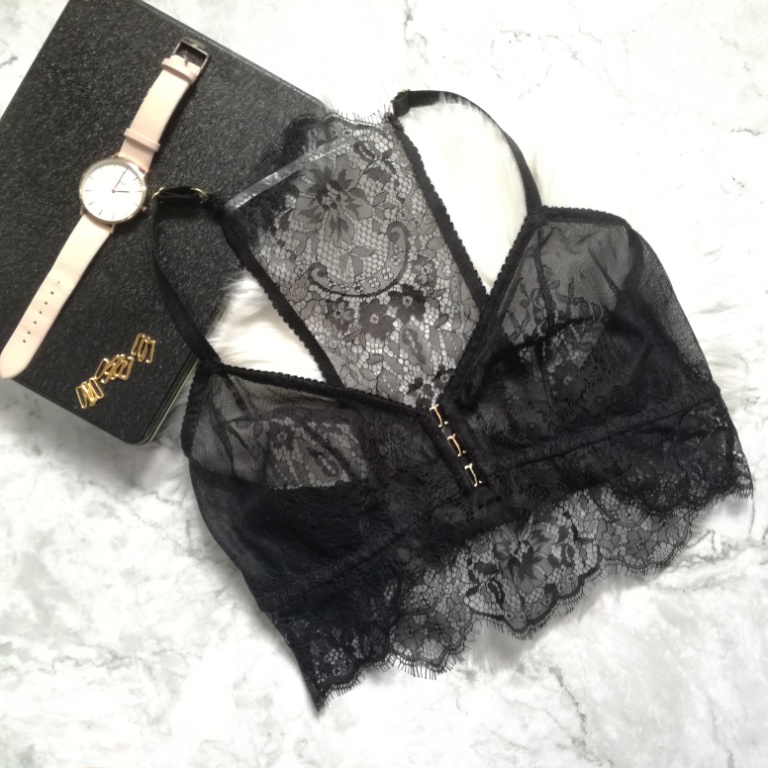
You are able to make a front closure bralette using two or more G hooks or front closures
You can decide based on the design or required support.


Basic style using two G hooks to bring inner cups together at the bottom and at the top of the center front (left).
Front closure bralette with three G hooks (right). This style will give you more support.
Both styles make a nice detail at the center front as well as working front closure.
This way you're able to make a bralette with the front closure that has as much support as the original!
Find the whole step-by-step tutorial in my complete guide to sewing lingerie.